The process of a Renaissance chiaroscuro print
For this project, I tried to follow the traditional Renaissance technique of making a chiaroscuro print as closely as possible. I will go through each step of making this print here, and mention where I had to deviate from traditional techniques. The book The Chiaroscuro Woodcut in Renaissance Italy (ed. Naoko Takahatake) was indispensible to me for inspriation and for a very detailed explanation of the art of chiaroscuro printmaking.
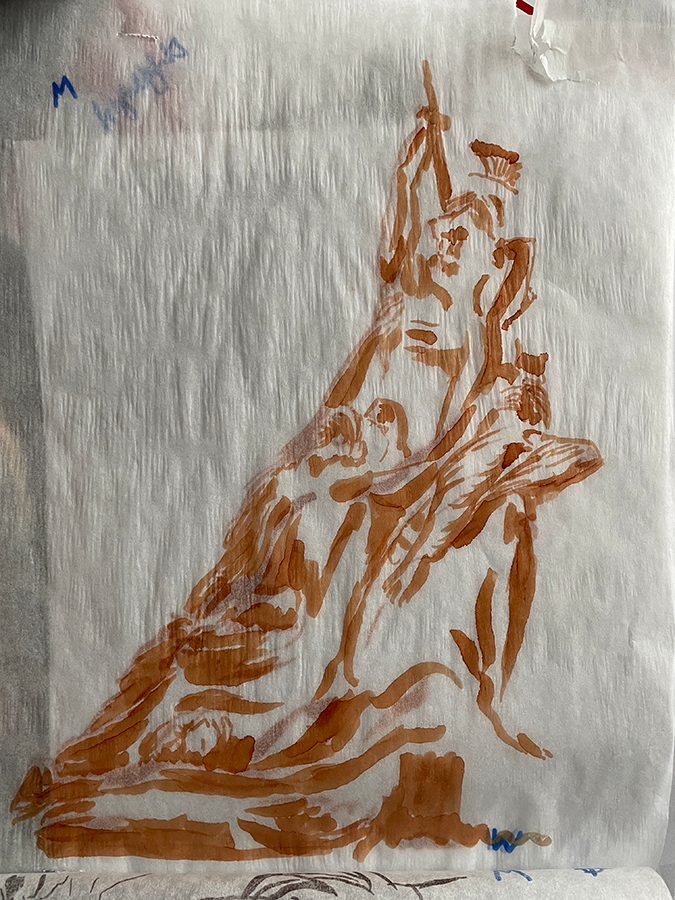
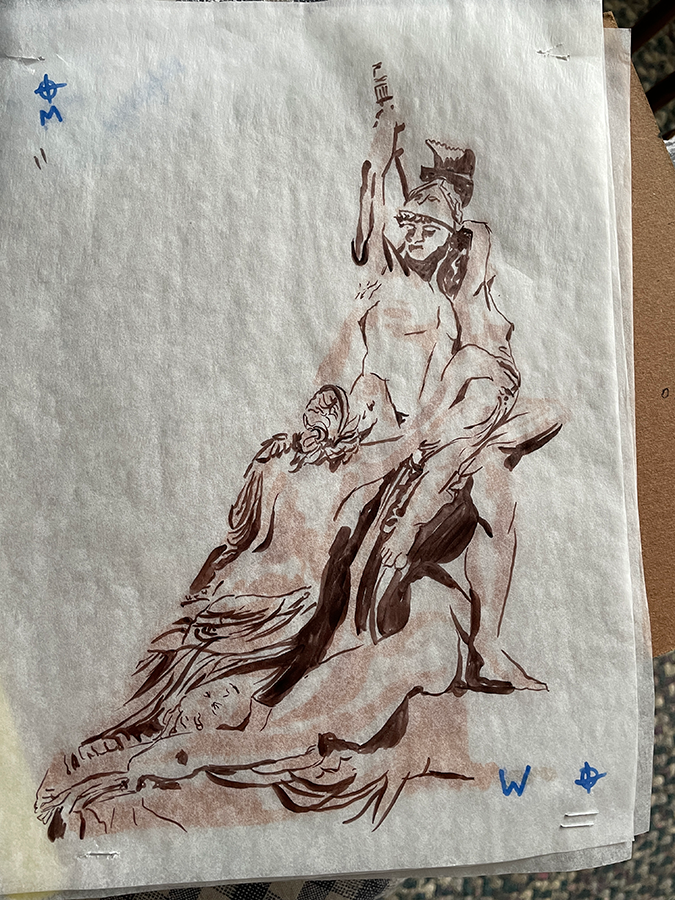
The first step: the subject and studiesOne purpose of chiaroscuro prints is in the name: to study the play of light and shadow on a form. The making of a chiaroscuro prints explicitly divides the highlights, midtones, and shadows into three distinct layers and shapes. I chose my subject, The Rape of Polyxena (1865, Pio Fedi, Italian), because of the dramatic pose, facial expressions, and the easily distinguishable shadows that a marble sculpture has. In addition, there were many high-quality reference photos of the statue in bright daylight that I could use thanks to it being outside in the Loggia dei Lanzi in Florence. After a sketch, I placed tracing paper over it and used 3 different alcohol markers to draw a template for my three printing blocks, one for each of the lightest tones, the midtones, and dark shadows, plus the highlights (white/paper) for 4 colors in total: 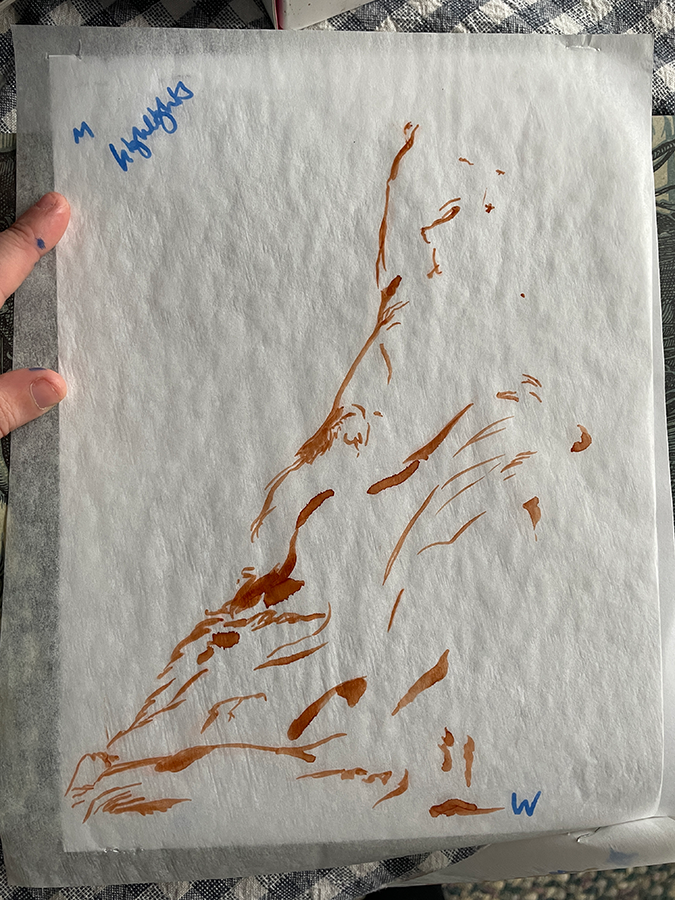
|
|
|
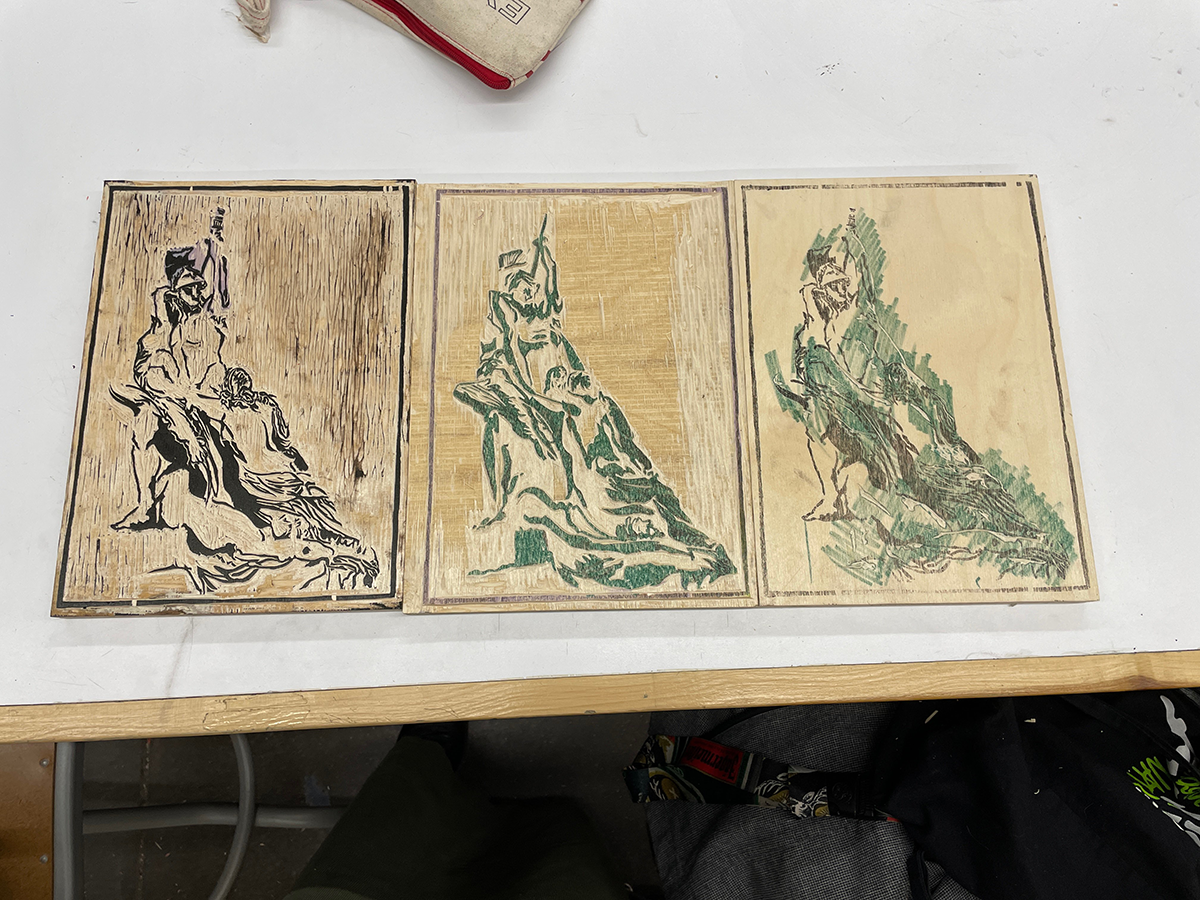
The second step: transfering to and carving the blocksNext was to prepare three pine blocks and transfer each page of my template using graphite paper. This is arguably the longest step, and carving three blocks takes lots of time with details as small as this. The pine board I was using was prone to chipping and flaking, and I had to sharpen my tools often. In the photo: the left and center boards are the finished boards for the dark shadows and the midtones respectively, and the right is for the lighter tones and will include the highlights, in progress of carving. |
The third step: printing and proofingInking and printing is where I deviated most from traditional techniques. In the Renaissance, artists would sometimes hand their blocks off to workshops where printers would create the desired edition of prints under the direction of the artist, a practice still done today. The printers would daub ink on the wood block using leather boules, and then hand-press the paper to make a print, repeating the process for each block until an edition was complete.
The press allowed me to get near-perfect registration for each stage, and I could quickly make an edition of 10 prints. In total, each sheet had to go through the press three times and be dried in between. |
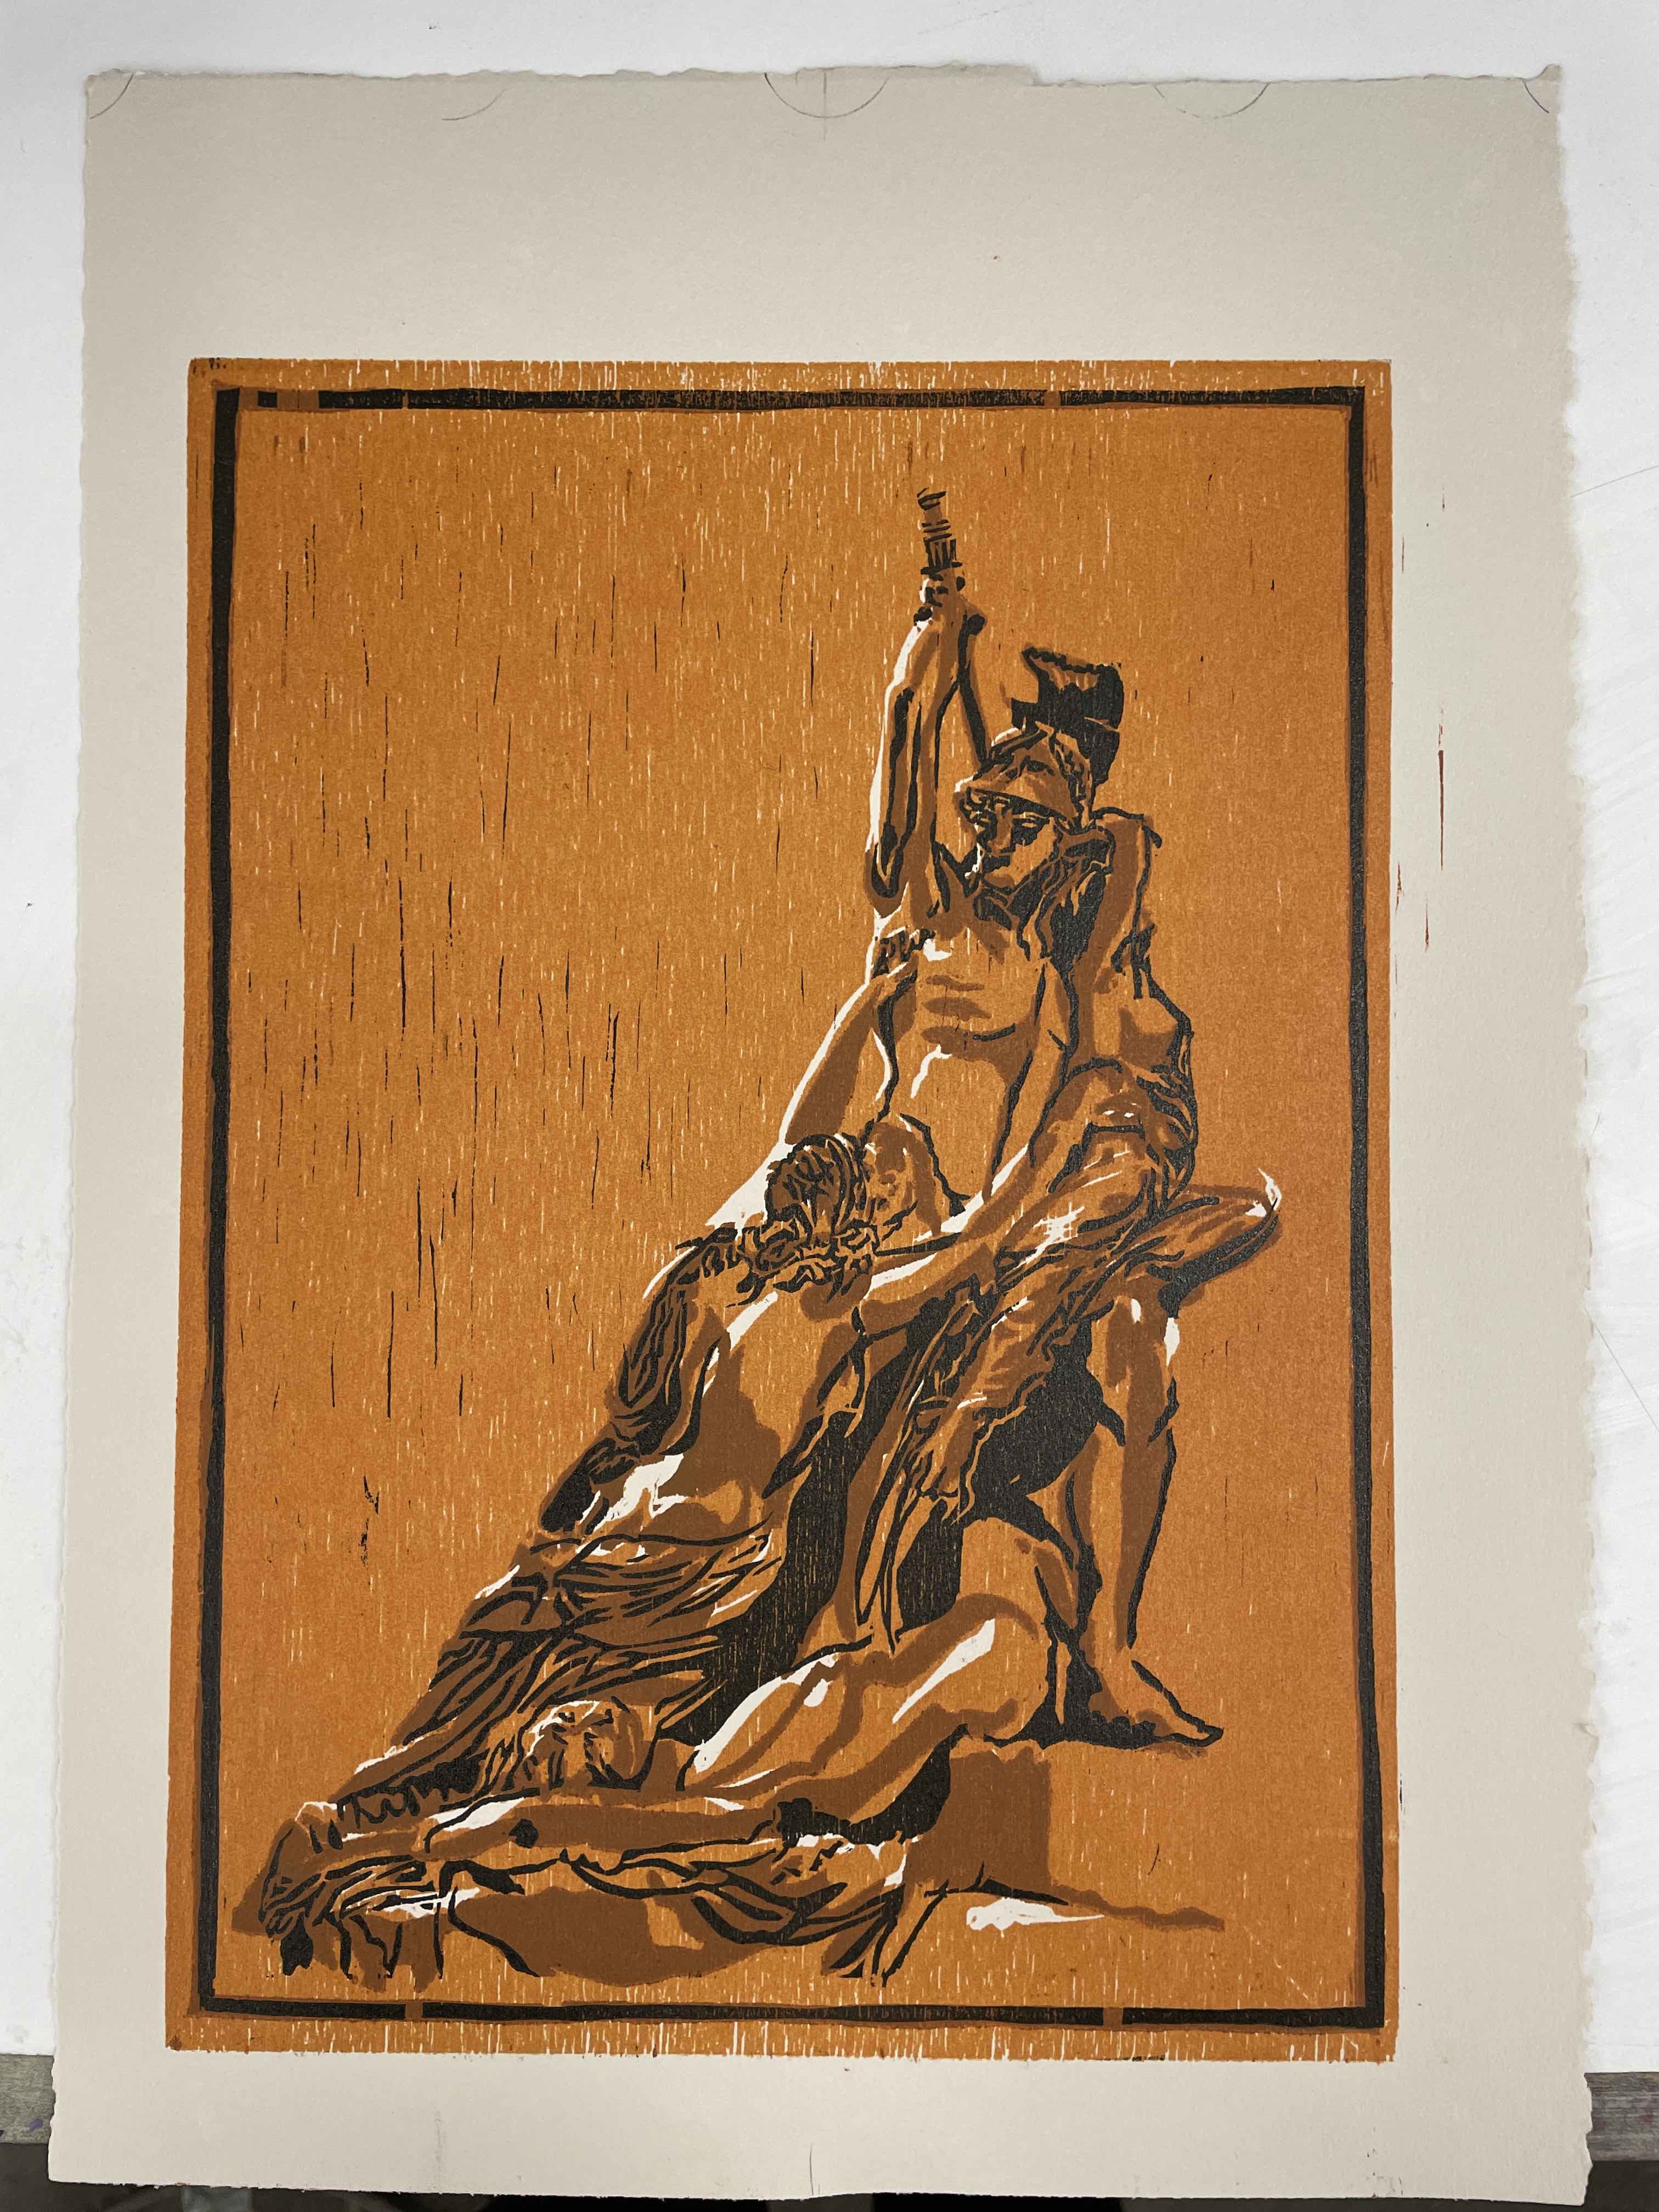
The final step: finishing and editioningNow that the prints are done and dry, I trimmed the edges using a tear bar and signed and editioned the prints. For this project, I only used a sliver of the possible techniques in chiaroscuro printing - there are tons of other options to try like printing on wet vs. dry ink, bleed prints, narrative subjects, different wood blocks, etc. Photo: one of the prints before trimming and editioning. |
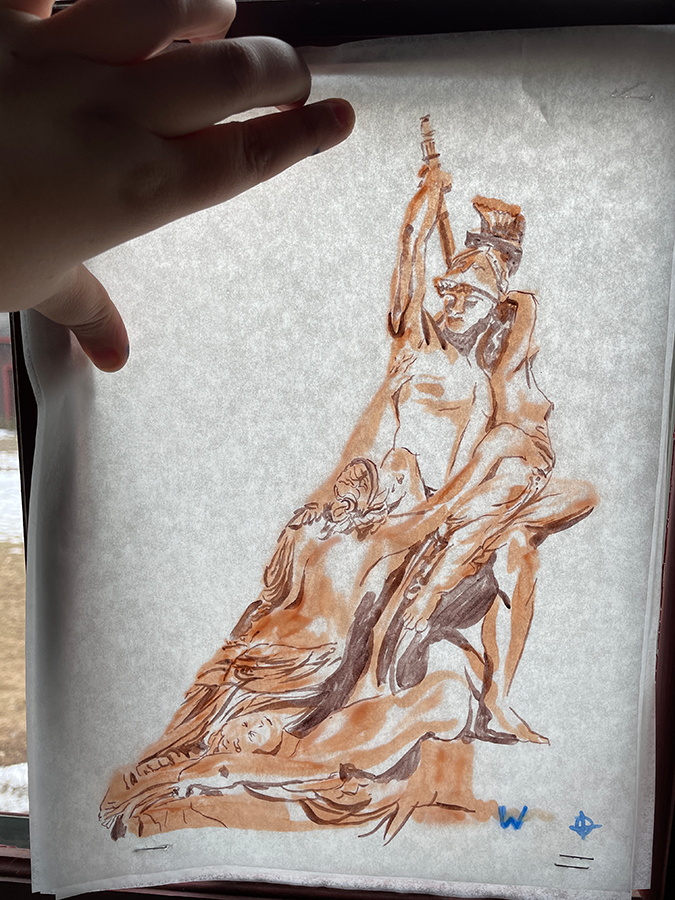 When you hold all three sheets up to the light, you can get some idea for what it will look like. This let me change around anything I wanted to before printing.
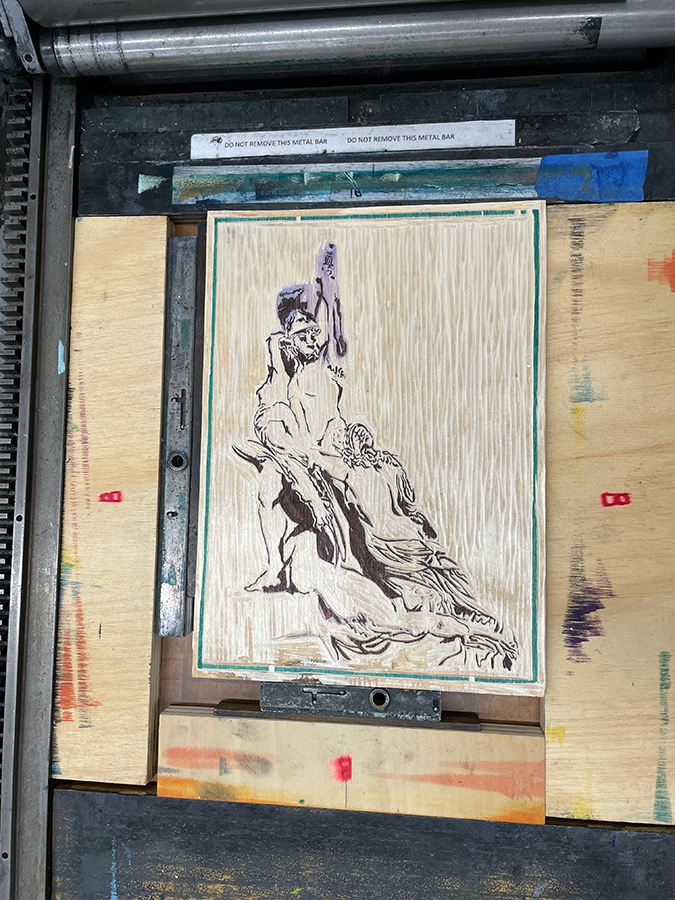
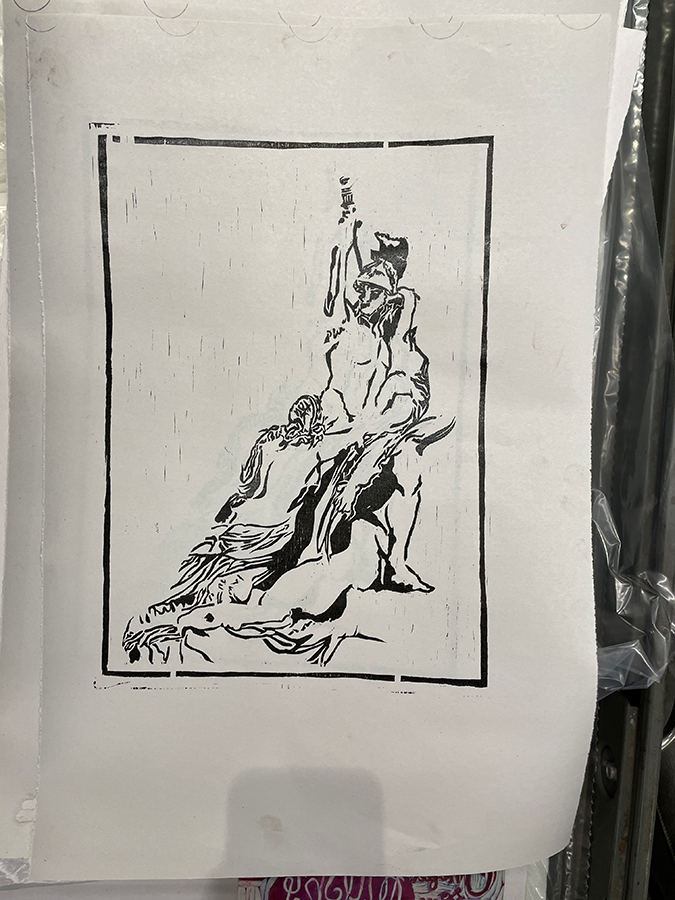 However with limited studio time, I resorted to modern technology like ink rollers and the vandercook printing press. In the left photo, the block is in the pressbed and is registered using the light pine blocks and spacers so that it will line up with the other blocks. on the right is a proof I took of the block on newsprint, which let me check the carving of the block, the inking levels and color, and the registration. I let this proof dry so I could use it to check the other blocks.