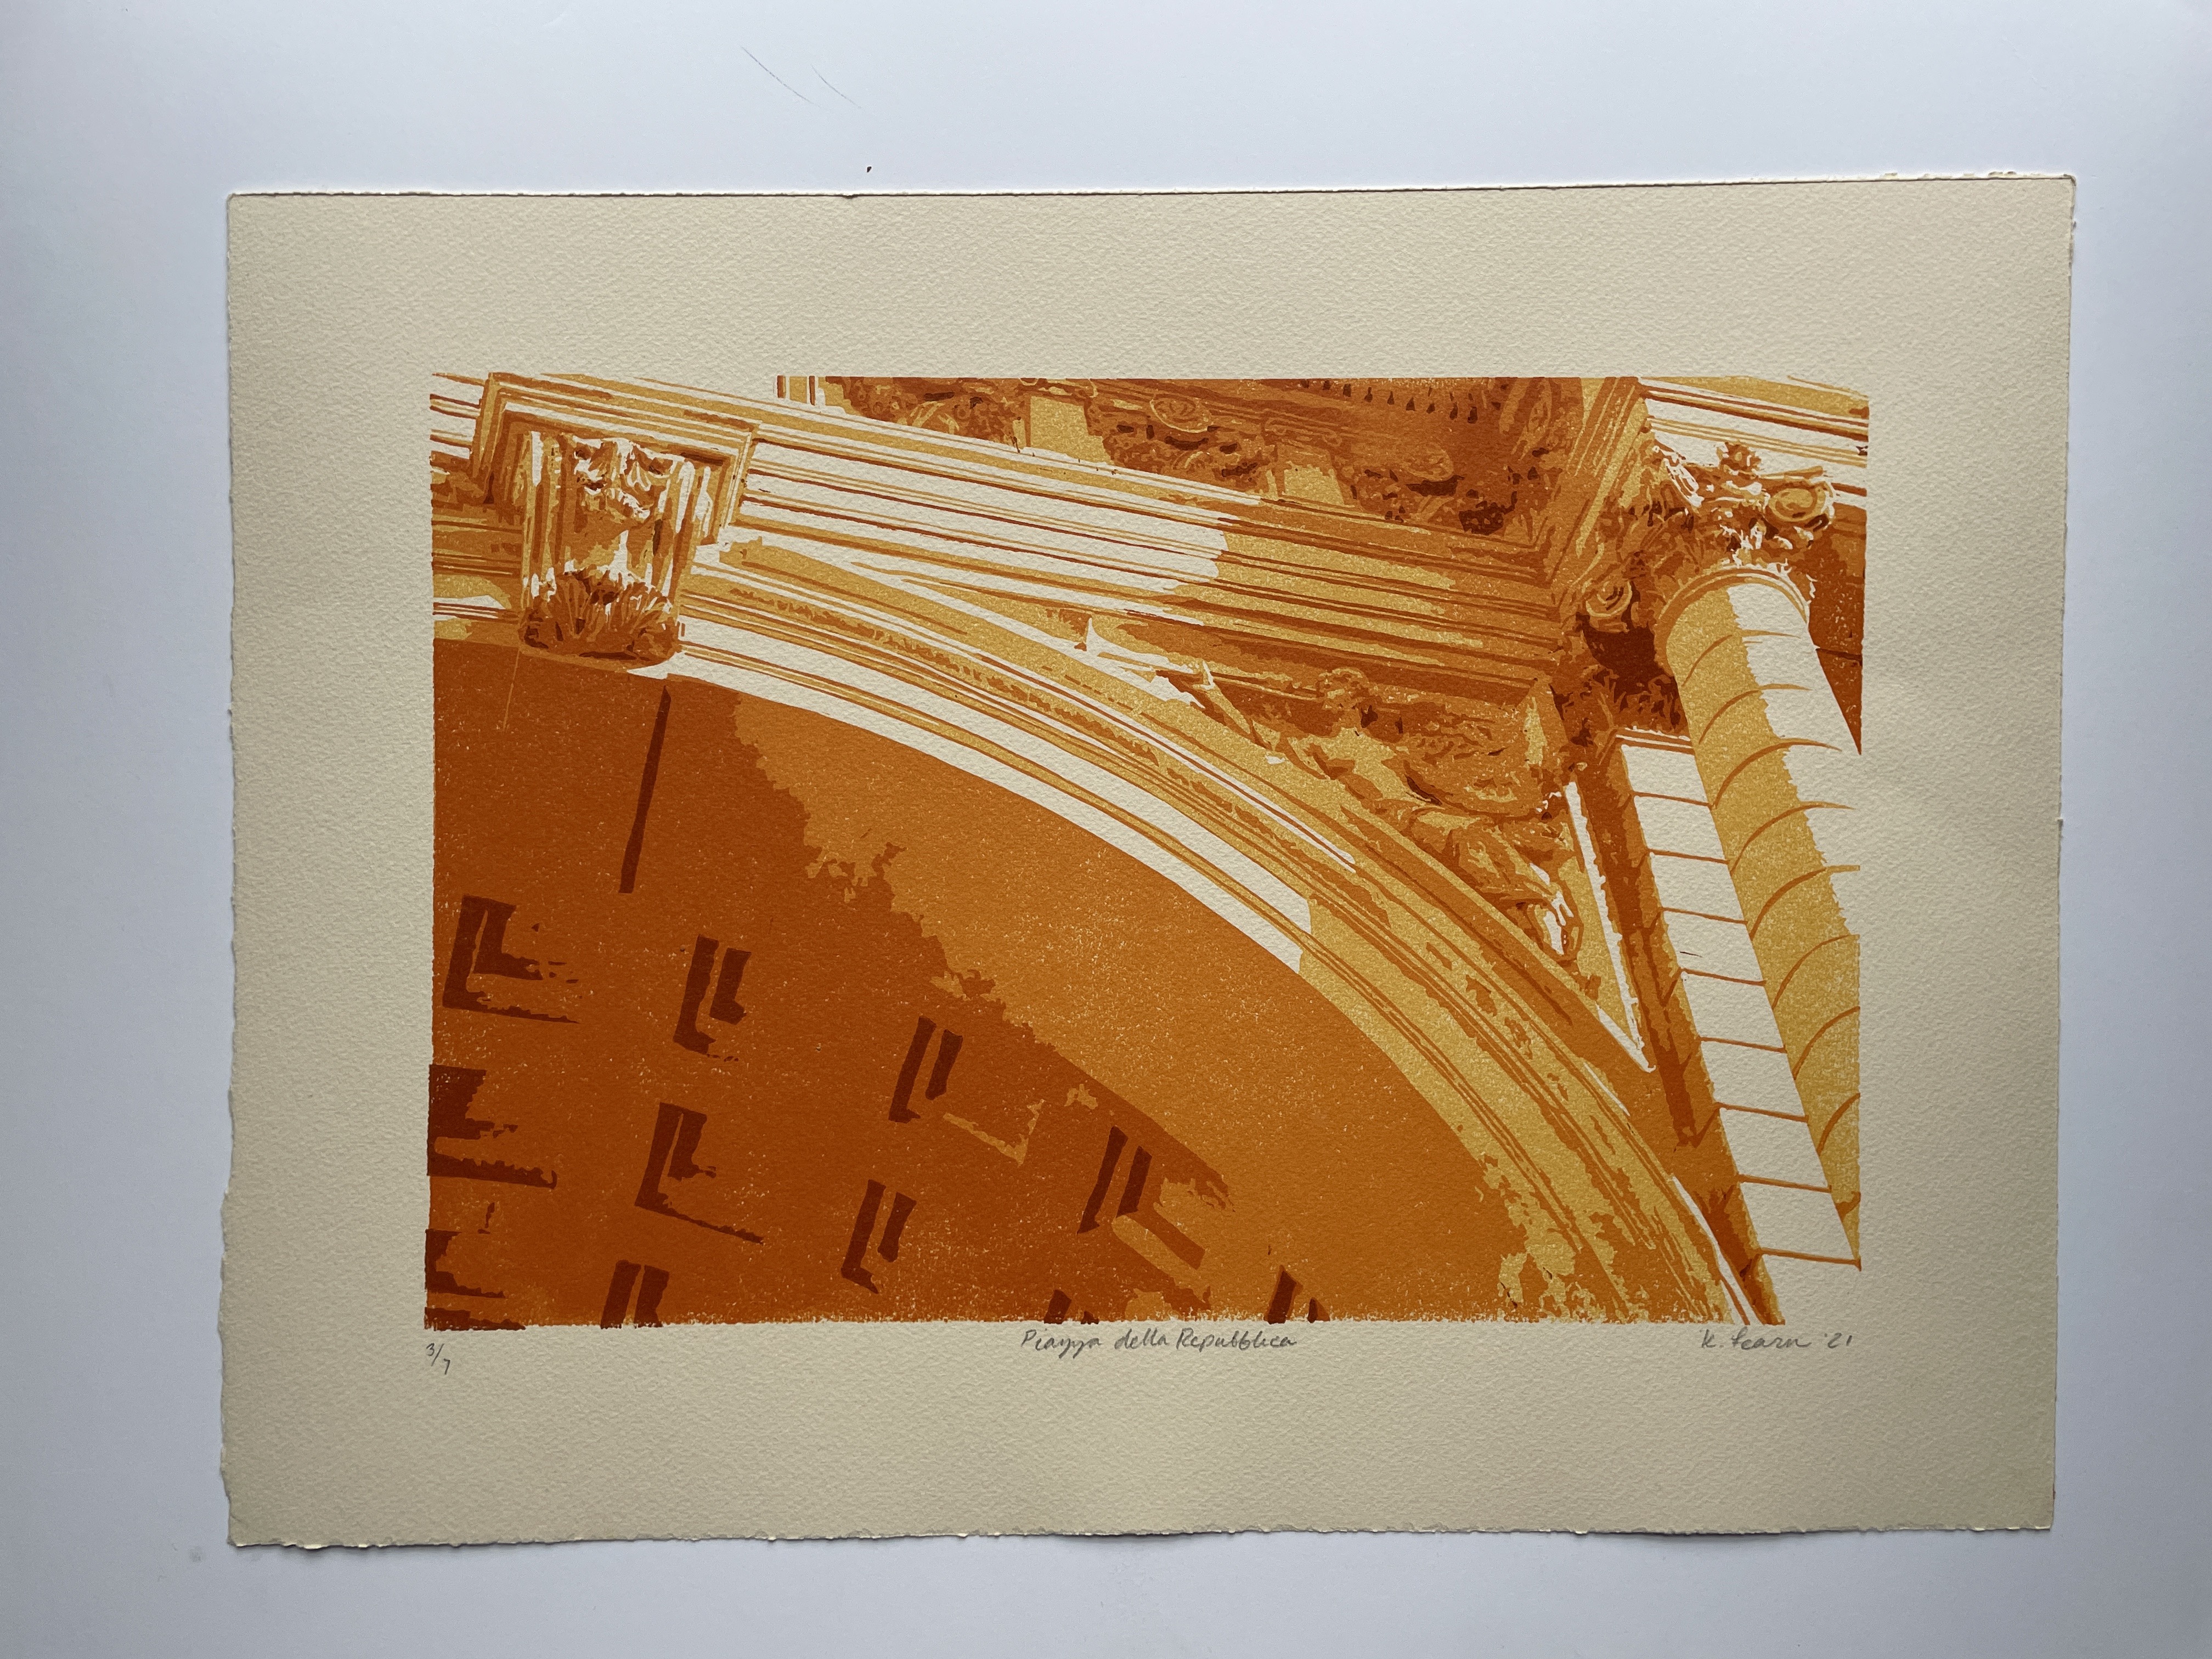
5-color Linoleum Reduction Process
The first step: the subject and template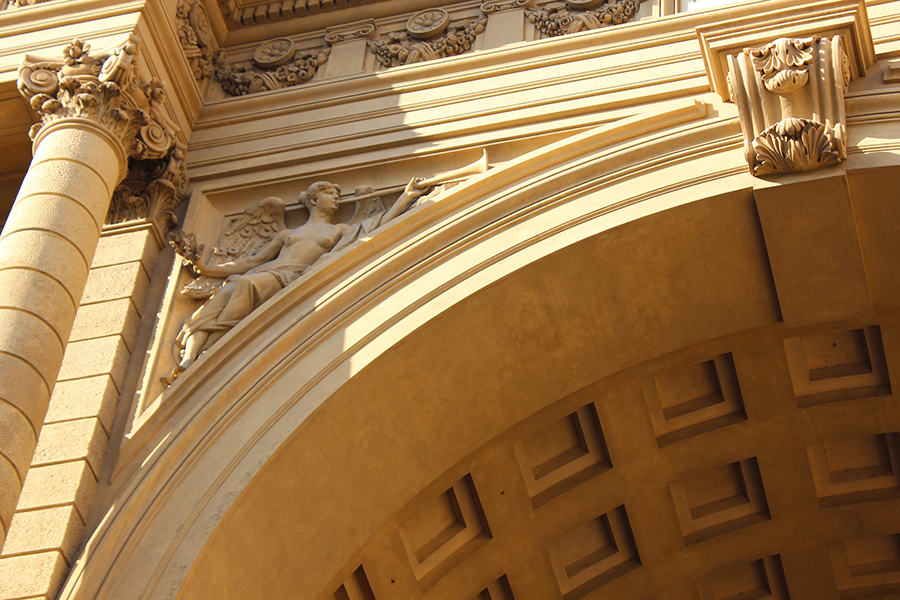
I wanted to choose a subject with interesting details and that was monochrome but had enough contrast where I could seperate 5 values. I used this photo of the Piazza della Liberta that I took while in Florence in 2019, and in photoshop used the posterize function to divide all the values into 5 colors (below), resulting in a template that would giv me 4 states to carve and print. 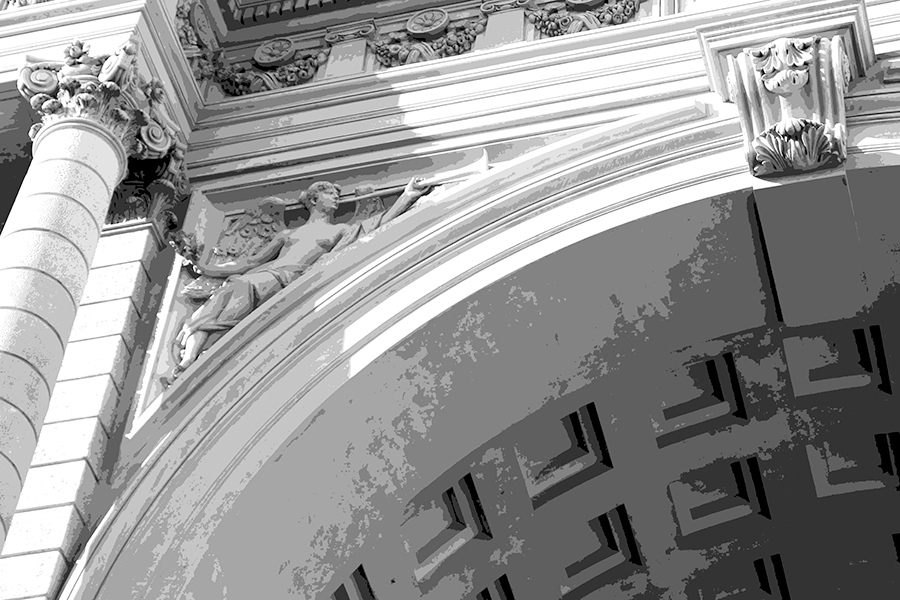
|
The second step: preparing the block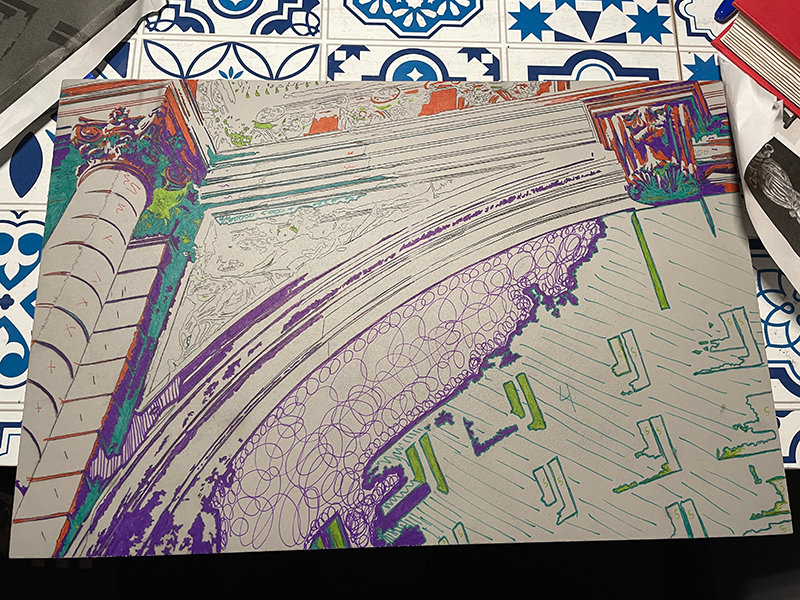

The left image shows the template that I printed bring transferred onto the block. On the right, I am color-coding each area that corresponds to a certain value, 1-5 with 5 being the darkest and the last to carve. This was one of the longest parts of this project, but planning for each step is very important because it's easy to get confused about which color you're carving and which color you're printing. |
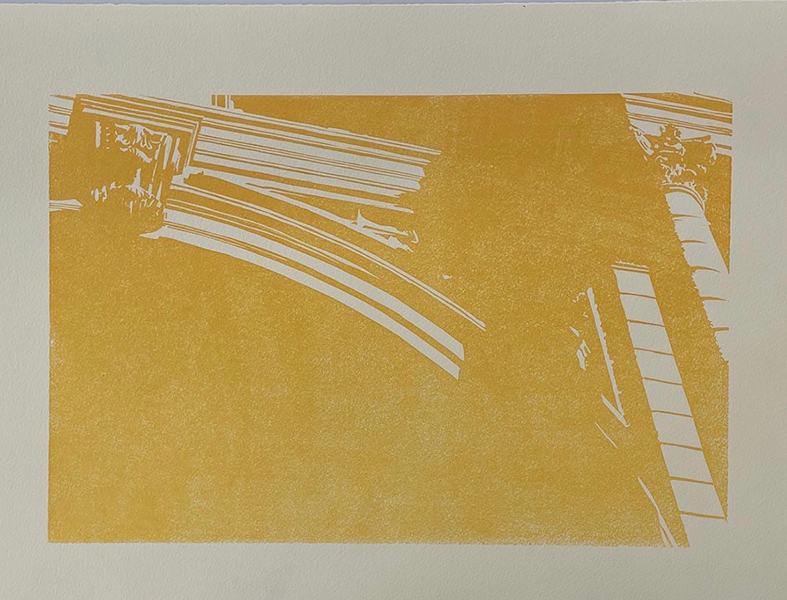
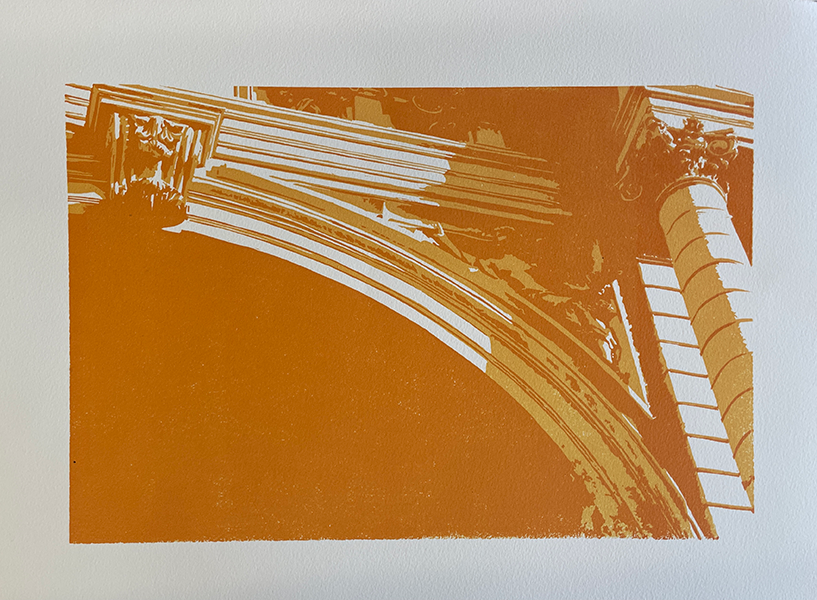
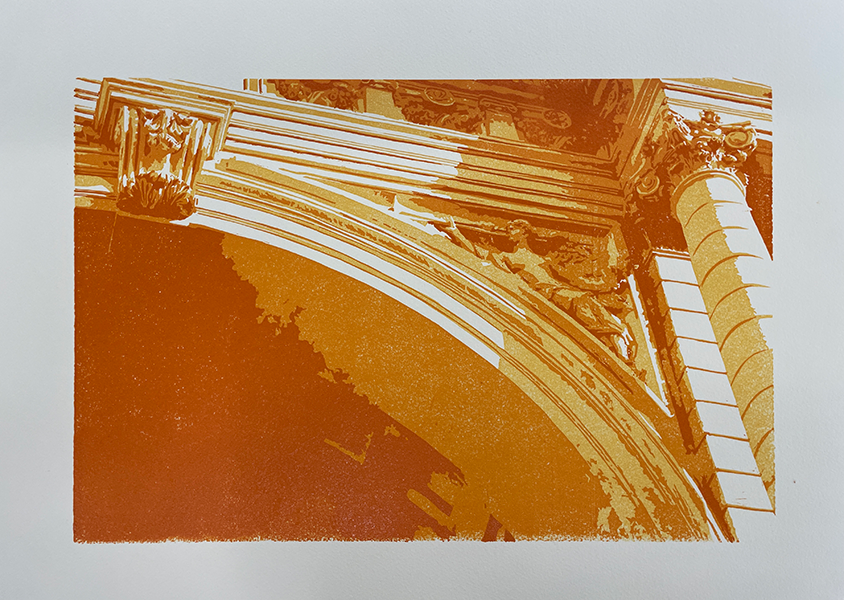
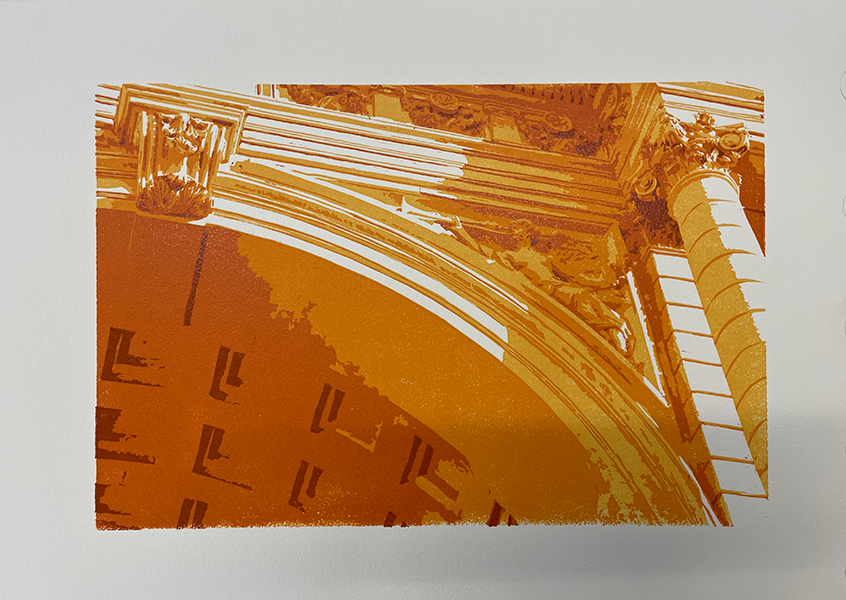
The third step: carving and printing the statesEach print is sent through the press 4 times. Below you can see how color is built over the 4 states (5 colors total including white), and after each state is printed, the block is carved again and where it is carved it will let the previous color show through, hence "reduction." This means however that the block can't be used again, so this is the only edition possible! |